Making your own Christmas present piñata is easy, cheap and a fun way to keep children of all ages busy this Christmas.
All you need is;
#
A cardboard box - I get a lot of packaging so I had a few saved up but you can generally get them for free at your local corner shop or buy them fairly cheaply online.
#
Some stuffing - Suitable for the kids in question. This is for a family of boys, the eldest of which is 15 and the youngest 3, the stuffing also needed to be halal so I spent a while reading labels. Never knew there were so many ingredients in swizzles sweets. You can spend as much or as little as you like - from a few wrapped sweets from the local market to a whole host of flash goodies.
#
Wrapping paper - you can even cut out and stick on pictures from old magazines or get your children to have fun decorating it themselves. You can even make them fluffy like a traditional piñata.
#
String or ribbon
Instructions
1) Fill the box with your stuffing
2) wrap it or decorate it
3) Add ribbon
Couldn't be simpler than that! I'm busy working and dealing with porley children this Christmas so I haven't had time to make the usual flash Christmas pinata's for the children I buy presents for so this was a quick and easy solution I thought I'd share.


 We've had a few orders recently for piñata messages, numbers and words. Including a few piñata numbers. Here's a picture of a pre-battered number 4 and a couple of birthdays that are just over a meter long (to give you an idea of size). We're pretty run off our feet at the moment with wedding season coming up, planning an anniversary party and just generally trying to keep well ahead of orders so that we can spend our free time working on a few personal projects.


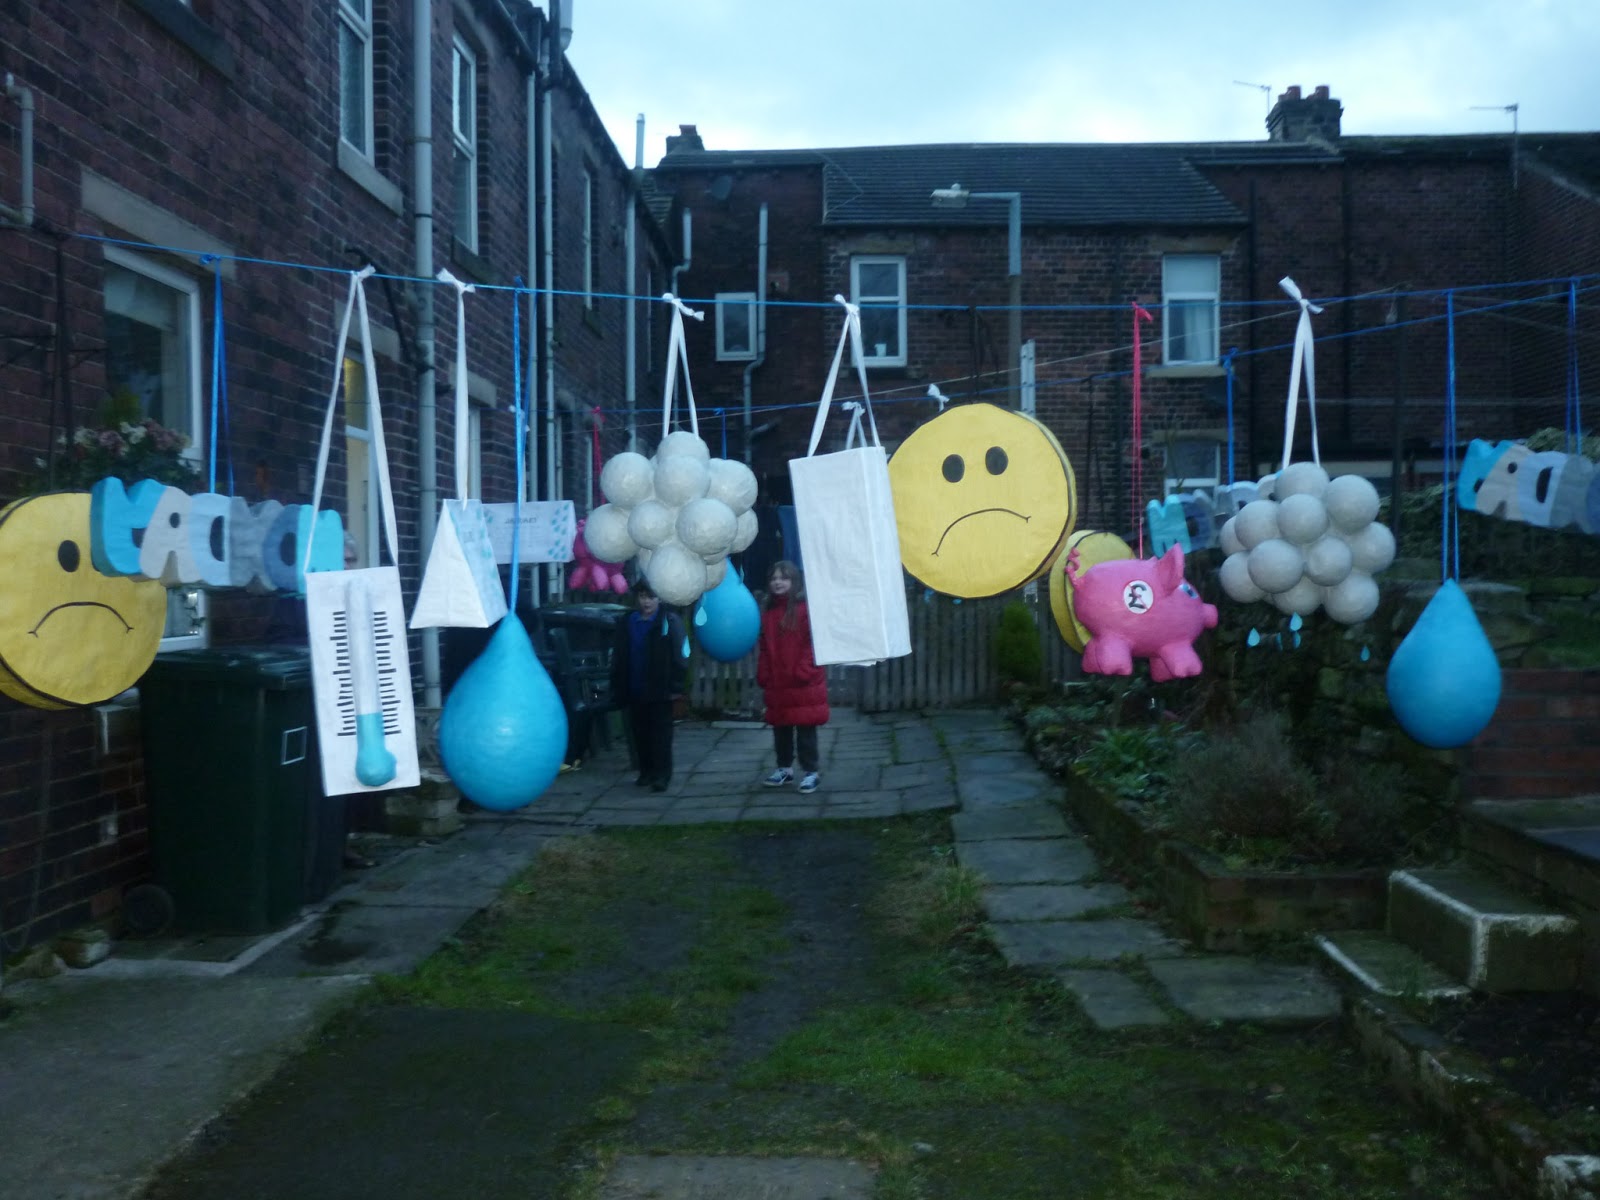


 We've been really busy with Christmas orders again this year. The ever popular Christmas pudding piñata's being outranked by little monsters. Which was quite surprising. We'll add new photo's when we've finally caught up with everything and dealt with the giant balls and assorted body parts!


